HOME STUDIO
Small Room, Big Sound: Bob Williams’ Veteran Guide to Speaker Placement
Audio veteran Bob Williams shares his no-nonsense strategies for optimizing studio monitors in small rooms using geometry and physics.
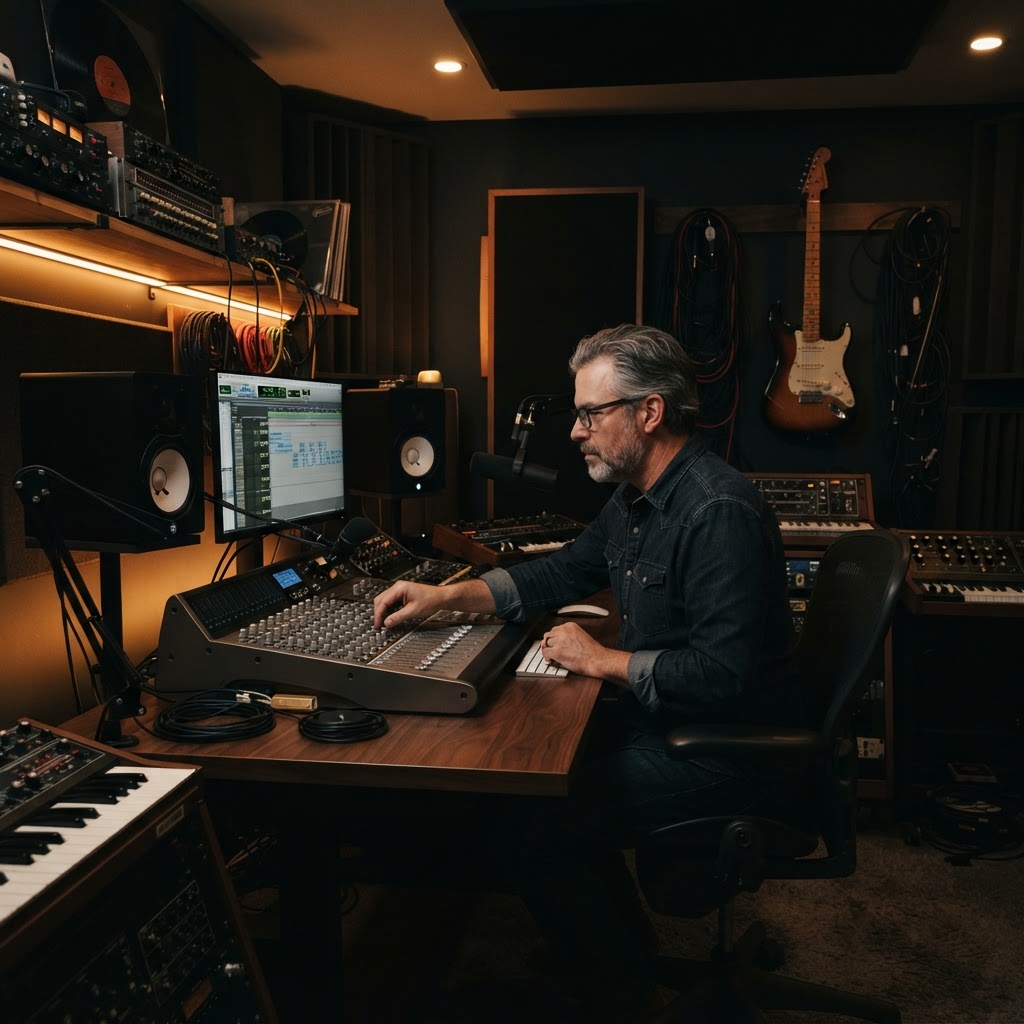
Bob here. I’ve spent the better part of forty years behind a mixing console, from the dusty clubs of my early days to the high-end studios here in Scottsdale. If there is one thing I have learned, it is that your gear is only as good as the room it is sitting in. You can drop five grand on a pair of monitors, but if you plop them on a desk in a small, untreated room without thinking about where they go, you might as well be mixing through a tin can. Small rooms are notoriously difficult because sound waves, especially those long, low-frequency ones, have nowhere to go. They bounce off the walls and slam back into each other, creating a mess of standing waves and phase cancellation. But look, we are going to fix that today. You don't need a degree in physics, just a tape measure and a bit of patience. I remember back in the late 70s, setting up a mobile rig in a cramped basement in Phoenix. The heat was unbearable and the room was basically a concrete cube. I learned more in that one weekend about speaker placement than I did in the next ten years in million-dollar studios. Why? Because I had to. In a perfect room, placement is easy. In a small, difficult room, placement is everything. You have to fight for every decibel of clarity. The Equilateral Triangle and the Listening Position The first thing we need to talk about is geometry. In a small room, you are likely using near-field monitors. These are designed to be listened to at a close range to minimize the room's influence. The golden rule here is the equilateral triangle. Imagine a point at the center of your head. That point, your left speaker, and your right speaker should all be the same distance apart. If your speakers are four feet from each other, you should be four feet from each speaker. This ensures that the stereo image is balanced and that you are hearing the direct sound from the drivers before the reflections from the side walls reach your ears. Once you have that triangle, you need to place it correctly in the room. A great starting point is the 38% rule. Take the total length of your room from the front wall to the back wall. Multiply that by 0.38. That distance from the front wall is generally the sweet spot where the room's natural resonances are the least intrusive. It is not always perfect, but it is a hell of a lot better than sitting right in the middle or against the back wall. Managing the Low-End Boundary In Scottsdale, we know about heat, and in small rooms, we know about bass build-up. When you place a speaker near a solid surface like a wall, the low frequencies wrap around the cabinet and bounce off the wall, combining with the original sound. This is called boundary gain, and in a small room, it makes everything sound boomy or muddy. If you find your mixes are sounding thin when you play them in your car, it is probably because your room is lying to you about how much bass you actually have. Try to pull your speakers away from the front wall. Even six to twelve inches can make a massive difference. If your speakers have ports on the back, they need that breathing room to function. Also, keep things symmetrical. If your left speaker is near a corner and your right speaker is in the middle of a wall, your low end will be lopsided. Your brain won't be able to make accurate decisions about the center image. Always try to center your setup along the shortest wall, firing down the length of the room. Tweeter Alignment and Decoupling High frequencies are like lasers; they are extremely directional. If your monitors are sitting flat on a desk, the tweeters are likely pointing at your chest. You are missing out on all the detail, the air in the vocals, and the snap of the snare. You need to get those tweeters at ear level. If you don't have stands, use some heavy books or ISO-pads. Just make sure the speakers are stable. While you are at it, toe them in toward your ears. I like to angle them so I can just barely see the inside edges of the cabinets. This focuses the sound right at the mix position. Lastly, let's talk about decoupling. When a speaker sits directly on a desk, the desk becomes part of the speaker. It starts to vibrate, which adds unwanted frequencies to what you are hearing. Use some foam wedges or specialized stands to separate the speaker from the furniture. This will tighten up your low end and clear up the lower mids. Think about the floor, too. If you’ve got a hard floor, that’s another surface for sound to bounce off. A simple rug between you and the speakers can kill those early reflections that smear your stereo image. It’s not just about the walls; it’s about the whole 360-degree environment. Your room won't be perfect, but these free adjustments will get you 80% of the way there. Trust your ears and keep the music moving. Your gear is only as good as the air it moves, so give it the best path possible.
EAR-TRAINING FIELD TRIP

West Hollywood, CA, USA
Troubadour
YOUR EXERCISE HERE
Find a spot near the soundboard and close your eyes during the first song. Listen specifically for how the high-frequency transients from the cymbals interact with the room's side walls, and note if you can distinguish the direct sound from the reflections.
Free Listening Worksheet
5 questions on sound & music (2 fill-in-the-blank). Take it to the venue.
You Just Read the Free Version.
The full Sound Check course turns this into a system — 8 modules, 6 hours, a room that finally sounds right.
ENROLL NOW — $97