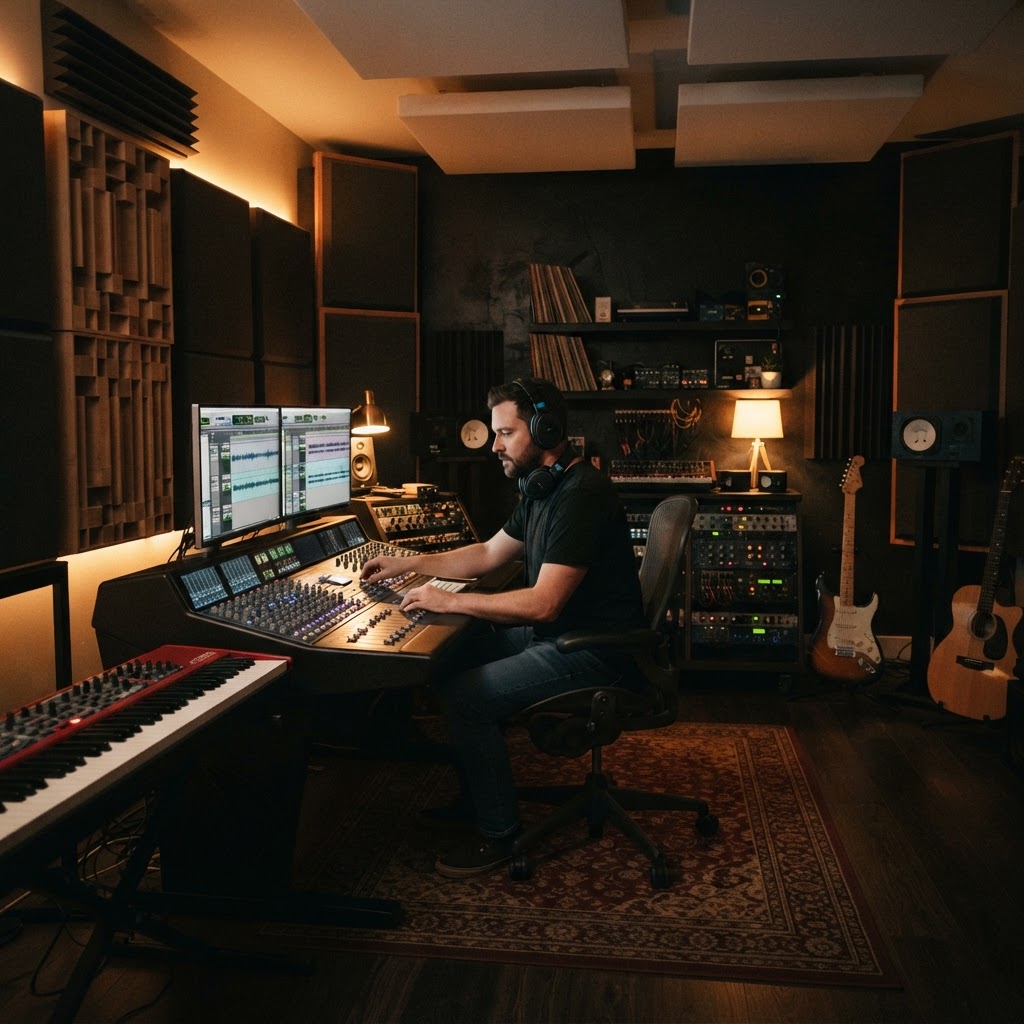
HOME STUDIO
Stop Blaming Your Gear: Why Your Room is Killing Your Mix
After 40 years in the trenches, Bob Williams explains why room treatment is the most important investment you will ever make for your home studio.
Listen, I’ve spent the better part of 40 years in this business, from sweat-soaked stages in the 80s to my current teaching studio here in sunny Scottsdale, Arizona. If there is one thing I have learned teaching the 'Sound Check with Bob' course, it is that most home producers are fighting a losing battle against their own walls. You can go out and buy a vintage U87 and a set of high-end Focal monitors, but if you are sitting in a square room with bare drywall, you are hearing a lie. Your room is an instrument, and right now, it is probably out of tune. Sound waves are physical things; they behave like water in a pool, bouncing off surfaces and colliding with each other. When they collide, they either double in volume or vanish entirely. This is why your mix sounds great in your headphones but falls apart in the car. It is not your talent; it is your acoustics.
The Myth of the Egg Carton and Thin Foam
Let’s get the biggest mistake out of the way first. I see it all the time: a beginner gets a starter kit, buys a pack of those one-inch thick charcoal foam wedges from a website, and sticks them all over the wall. It looks like a recording studio in a movie, but it sounds like mud. Those thin panels only handle high frequencies. They soak up the 'air' in your room but do absolutely nothing to the low-mid and bass frequencies. The result? You end up with a room that feels claustrophobic and dark, while the low end still bounces around like a pinball. In my Scottsdale studio, we use mass. You need density to stop sound waves. Think about it like a wave in a pool. A piece of foam is like a screen door; the water goes right through. You need a brick wall—or in our case, thick mineral wool. If you are on a budget, look for Owens Corning 703 or Rockwool. Build yourself some four-inch thick panels. These are 'broadband' absorbers. They actually eat the energy of the wave rather than just tickling the surface. If you don't have the mass, you aren't treating the sound; you're just muffling the high end.
Corners and the 38 Percent Rule
Bass is a lazy beast. It loves to crawl into corners and stay there, building up until your mix sounds bloated and inaccurate. This is why you must treat your corners first. I always tell my students: 'Corners are where the truth goes to die.' Put the thickest traps you can afford in those 90-degree joins where the walls meet. It will clear up your low-mid definition instantly. Then, look at where you are sitting. Most folks shove their desk right up against a wall because it saves space. Bad move. There is a sweet spot in most rectangular rooms at about 38 percent of the room's total length back from the front wall. This is a starting point, not a law, but it usually keeps you out of the worst 'nulls'—those spots where frequencies cancel each other out and leave you wondering where your kick drum went. When you position your monitors, make sure they form an equilateral triangle with your head. If the speakers are five feet apart, you should be five feet from each speaker. Symmetry is your best friend. If your left wall is two feet away and your right wall is six feet away, your stereo image will always be skewed, and you will find yourself constantly overcompensating in the mix.
The Mirror Trick and Living Rooms
Finally, you need to handle 'early reflections.' These are the sounds that bounce off the side walls and hit your ears just milliseconds after the direct sound from the speakers. It smears the stereo image and makes it impossible to place instruments in a 3D space. Sit in your chair and have a friend slide a mirror along the side wall. When you can see the speaker’s tweeter in the mirror, that is your first reflection point. Put a panel right there. But don’t go overboard. You aren’t building a coffin. A room that is too 'dead' feels unnatural and leads to ear fatigue. In Scottsdale, we like our porches with a bit of breeze, and your music needs a bit of 'air' to breathe. If you have hard floors, throw down a thick rug. If you have a back wall that’s bare, put up a bookshelf filled with books of different sizes. Those books act as a natural diffuser, scattering the sound waves instead of just killing them. It keeps the room sounding 'live' but controlled. It’s the difference between a sterile lab and a place where music actually happens. Don’t get bogged down in the math or the fancy boutique brands. Start with the corners, find your 38 percent mark, and kill those first reflections. You will hear details in your recordings that you never knew were there, and your mixing decisions will finally start to translate to the outside world. This isn’t just about physics; it’s about giving your creativity the space it deserves to be heard correctly.
Your ears will thank you for the silence between the notes.
EAR-TRAINING FIELD TRIP

Los Angeles, CA, USA
Walt Disney Concert Hall
YOUR EXERCISE HERE
Find a seat in the middle of the vineyard-style seating and close your eyes during a quiet passage. Listen specifically for how the Douglas fir wood panels diffuse the sound, preventing harsh reflections and creating that signature 'immediacy' that makes the room feel alive rather than boxy.
Free Listening Worksheet
5 questions on sound & music (2 fill-in-the-blank). Take it to the venue.
You Just Read the Free Version.
The full Sound Check course turns this into a system — 8 modules, 6 hours, a room that finally sounds right.
ENROLL NOW — $97