LIVE PERFORMANCE
Stop Guessing: The Sound Check Routine That Saves Your Show
After 40 years behind the board, I’ve learned that a great show starts with a disciplined sound check. Here is my step-by-step process for getting it right every time.
Look, I’ve spent forty years behind a console, most of it here in the scorching Scottsdale sun. I’ve seen it all—from world-class acts at the outdoor pavilions to local bar bands who couldn't find middle C with a GPS. If there is one thing I’ve learned, it’s that a bad sound check is a prophecy for a bad show. I’m Bob Williams, and if you’re taking my "Sound Check with Bob" course, you know I don't have time for fluff. We’re here to make things sound good, fast, and without the ego trips. We’re going to talk about the routine that actually works when you're under the gun.
The Order of Operations
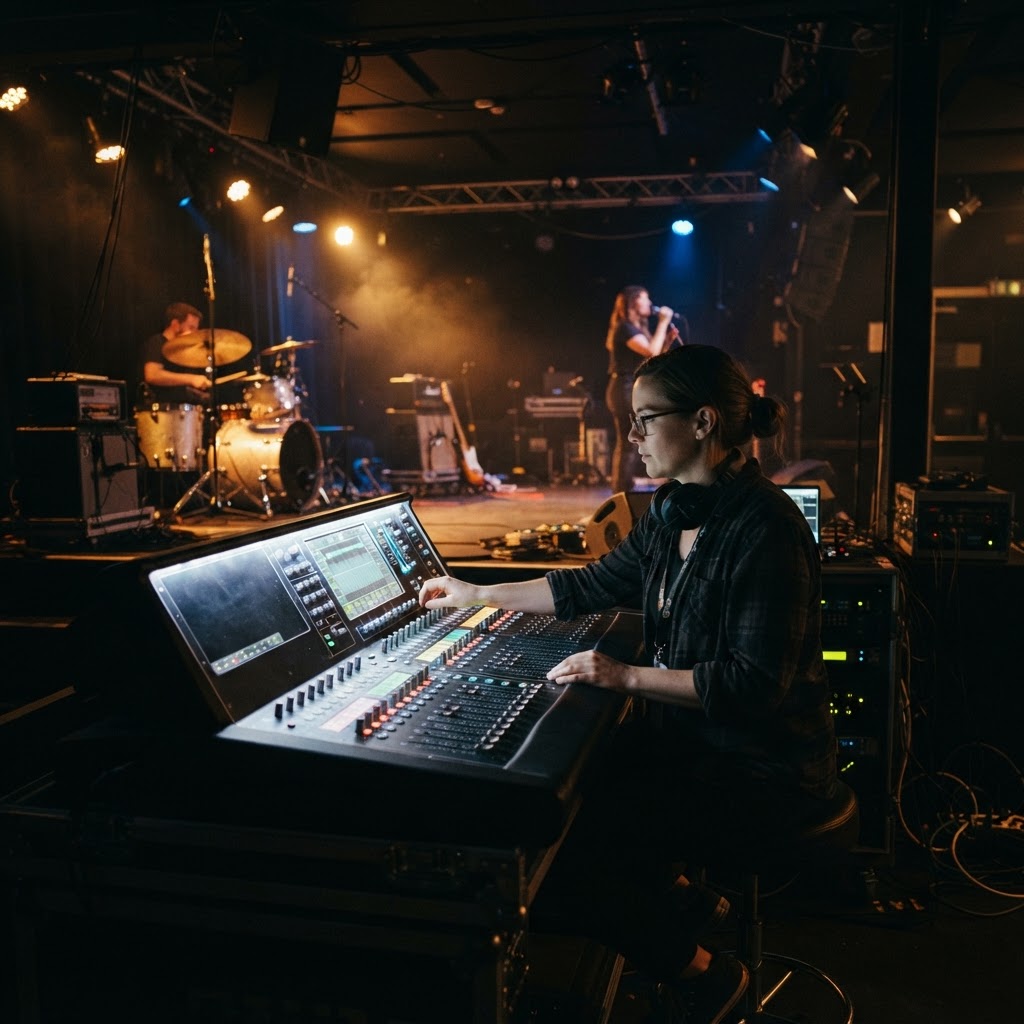
Most beginners make the mistake of letting the drummer start bashing the moment they sit down. Don't let them. A professional sound check starts with silence and a plan. I start with what I call the "Silent Line Check." I’m at the board, and I’m checking every single input before I ever push a fader up. I want to see signal on my meters. I want to know that the DI box for the bass is working and that the vocal mic isn't dead. Only when I know the plumbing is working do we start making noise. It saves time and prevents you from looking like an amateur when the lead singer’s mic doesn't work three minutes before the set.
Once we’re ready, we go from the bottom up. Kick drum first. Not for twenty minutes—just until it’s got that "thump" that hits you in the chest without being muddy. Then the snare, then the rest of the kit. Next comes the bass. I want to hear the bass and the kick together almost immediately. If those two aren't shaking hands, your mix is going to be a mess all night. Then we move to guitars, keys, and finally, vocals. The vocals are the most important part of the mix, so I save the best for last. Keep the faders down until you've got the gain structure right. If your gain is too hot, you've already lost the battle.
Solving the Monitor Mystery
Here is a secret: the audience doesn't care if the band can hear themselves, but the band cares about nothing else. If the stage monitors are a mess, the performance will be stiff and pitchy. I always tell my students to handle monitors one person at a time. I’ll look at the lead singer and say, "What do you need?" I get them dialed in, then I move to the guitarist. Never, ever try to adjust four monitor mixes at once while everyone is shouting at you. It’s a recipe for feedback and a massive headache. You need to be the authority figure. If the keyboardist starts playing while you're talking to the drummer, shut it down. One person at a time.
I also tell the musicians to keep their stage volume under control. In my decades of experience, I’ve found that the biggest enemy of a good front-of-house mix is a guitar player who thinks his amp needs to be at eleven to get "tone." If the stage is too loud, I can't help you in the room. We work as a team, or we fail as a team. Explain this nicely, but be firm. You're the engineer; you're the one responsible for the sound the paying customers hear. If the band is fighting you on stage volume, the show is already in trouble. Remind them that the audience hears the mix, not their individual amps.
The Walk-Around
The last step is the most important one that people skip. Once the band is playing a full song—and I mean a real song, not just a jam—get out from behind the board. Wireless tablets are a godsend, but even if you don't have one, walk the room. The sound at the mix position is never the sound at the front of the stage or in the back corners. I look for "dead spots" or areas where the bass is booming too hard. If you stay glued to your chair, you're only mixing for yourself.
Check the sightlines. Check the corners. If you’re in a room with a lot of glass or concrete, you’re going to have reflections. You might need to pull some high-end out of the main EQ just to stop the room from screaming. A sound check isn't just about the gear; it's about the physics of the air in the room. Once you feel that the energy is right, you're ready. I usually tell the band to play their loudest song and their quietest song. If both sound good, you've done your job. Don't overthink it. Once it's set, leave it alone and let the band do their thing.
Keep your cool, keep your ears open, and remember that you are the captain of this ship until the first note hits. Your job is to be the calmest person in the room.
Remember: You’re there to serve the music, not the gear.
EAR-TRAINING FIELD TRIP

Nashville, TN, USA
Ryman Auditorium
YOUR EXERCISE HERE
Find a seat in the middle of the floor and close your eyes during the sound check. Listen specifically for how the natural wood surfaces and the room's unique 'shoebox' shape color the decay of the snare drum and acoustic guitar, noting how the room's natural reverb interacts with the PA system.
Free Listening Worksheet
5 questions on sound & music (2 fill-in-the-blank). Take it to the venue.
You Just Read the Free Version.
The full Sound Check course turns this into a system — 8 modules, 6 hours, a room that finally sounds right.
ENROLL NOW — $97