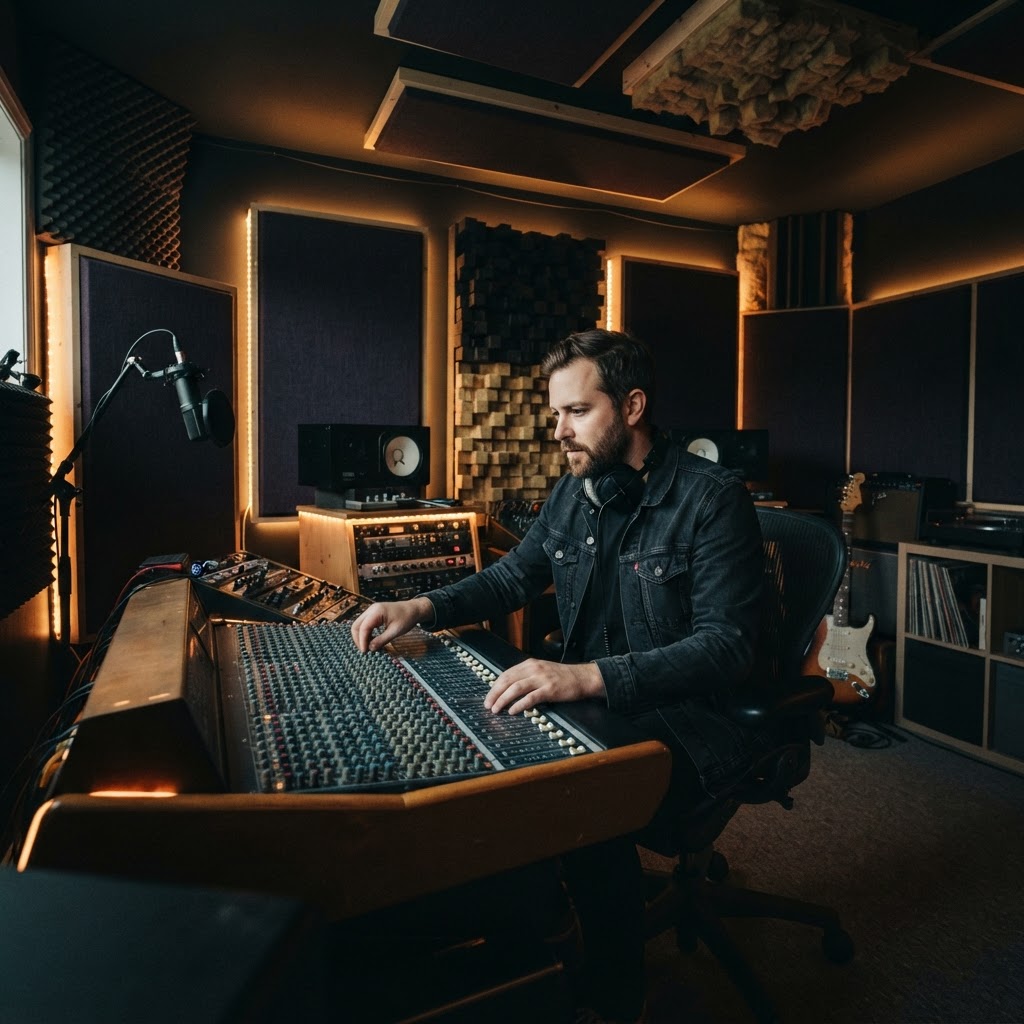
HOME STUDIO
Stop Overthinking: Pro Acoustic Treatment on a Shoestring Budget
Forty years in the business taught me one thing: you don't need a million-dollar facility to get a professional sound. Here is how to treat your room without going broke.
Listen, I’ve spent four decades behind the mixing console, from tiny dive bars in Scottsdale to high-end studios. If I’ve learned anything, it’s that gear lust is a distraction. Most folks think their recordings sound thin because they need a $3,000 microphone. Truth is, your room is lying to you. If your space sounds like a tile bathroom, your mix will never translate. You don't need fancy, designer foam squares to fix it, either. Let's get real about fixing your acoustics on a budget.
The Blanket and Bookshelf Method
You already own the best acoustic tools: mass and density. Forget the cheap, thin egg-crate foam you see on Amazon; that stuff is useless for anything but high-frequency scatter. Instead, look at your soft furniture. A heavy moving blanket hung on a wall is a massive bass trap compared to nothing. If you have a bookshelf, fill it with books of varying sizes. Don't organize them neatly; pull some forward and push others back. This creates a crude but effective diffuser that breaks up standing waves. It's free, it looks cool, and it works.
Taming the First Reflection Points
The most critical areas in your room are the 'first reflection points.' These are the spots on the side walls where sound bounces off your speakers and hits your ears a split second after the direct signal. This smears your stereo image. You don't need professional-grade panels here. Grab a couple of 2-inch thick rigid fiberglass boards—often sold as OC703—or even thick denim insulation. Wrap them in some breathable fabric and mount them at ear level on the walls to your left and right. This single step will do more for your mix clarity than any plugin ever could.
Corners are Your Best Friend (and Worst Enemy)
Bass buildup happens in corners. If your room sounds muddy, it’s because low frequencies are piling up where the walls meet. Professional studios use thick floor-to-ceiling 'bass traps.' For you? Get a corner shelf and stack it with rolled-up rugs or spare pillows. You want soft, dense material tucked into those corners. It doesn't have to be pretty; it just has to be there to absorb the energy. A few well-placed floor cushions in the corners will tighten up your low-end response significantly. Just keep it simple.
Ultimately, your room is an instrument in itself, so keep listening to how changes affect your recordings. You are building a space to work, not a museum, so don't be afraid to experiment with moving furniture or blankets around until the room stops 'ringing' when you clap your hands. Trust your ears over any marketing hype. A little bit of smart, budget-friendly treatment goes a long way toward turning a bedroom into a legitimate tracking space.
EAR-TRAINING FIELD TRIP

Nashville, TN, USA
Ryman Auditorium
YOUR EXERCISE HERE
Find a seat in the balcony and close your eyes during an acoustic set. Listen specifically for how the wooden pews and curved architecture diffuse the sound, preventing harsh reflections and creating that warm, natural decay that makes this room legendary.
Free Listening Worksheet
5 questions on sound & music (2 fill-in-the-blank). Take it to the venue.
You Just Read the Free Version.
The full Sound Check course turns this into a system — 8 modules, 6 hours, a room that finally sounds right.
ENROLL NOW — $97