LIVE PERFORMANCE
Stop the Guesswork: Building a Professional Monitor Mix
Forty years on the road have taught me that a good show starts in the ears. Here is how to build a monitor mix that lets you perform at your best.
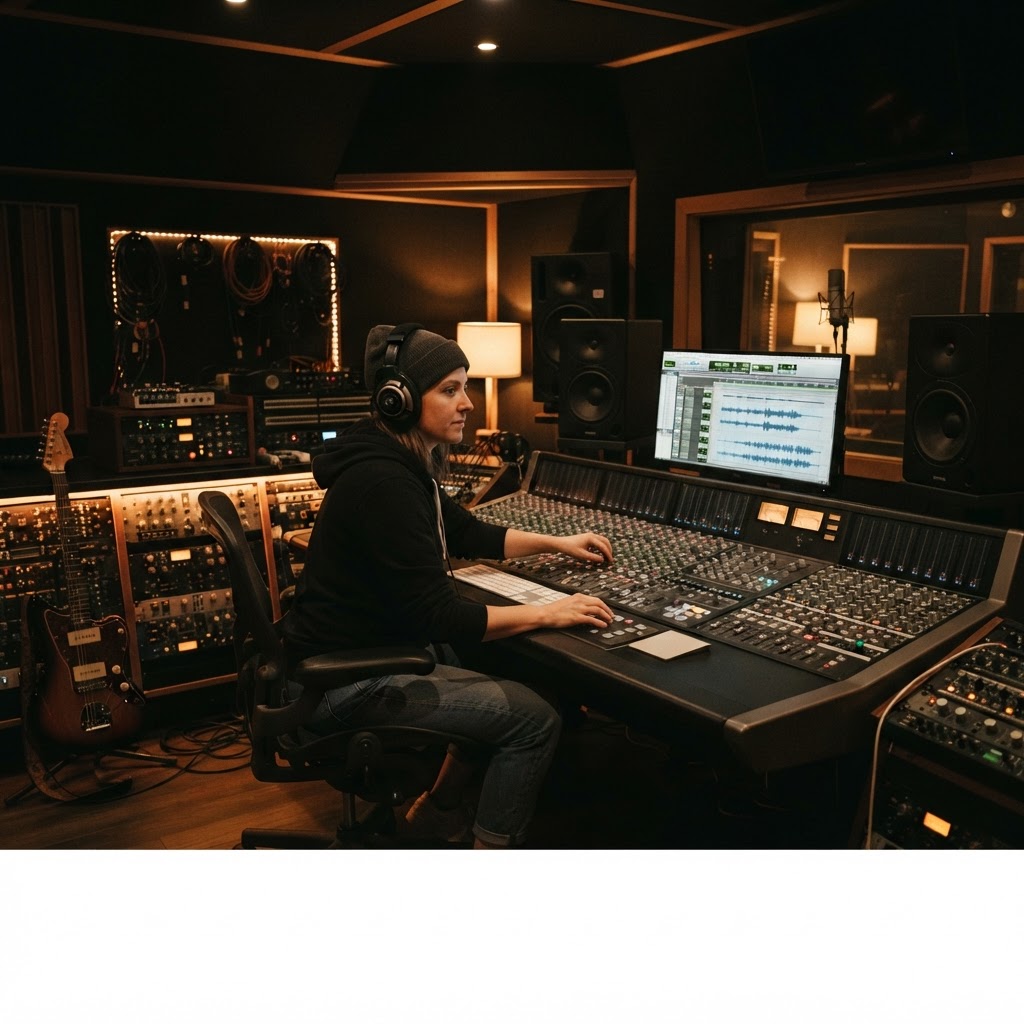
I have spent four decades standing behind mixing consoles, from small Scottsdale dives to massive outdoor festivals. If there is one thing I have learned, it is that a musician playing with a bad monitor mix is fighting a losing battle. If you cannot hear yourself clearly, you are going to push too hard, lose your pitch, and ruin your timing. Monitoring is not just about volume; it is about clarity and comfort. Here is how I get it done.
Start with the Foundation, Not the Volume
Most beginners start by asking for 'more me.' Stop that immediately. When you ask for more of your own instrument, you inadvertently bury everything else. Start by building the rhythm section. In your mix, your kick drum and snare should be the heartbeat. If your rhythm section is tight and consistent, the rest of the mix falls into place. Once the drums and bass feel solid, add your lead instrument at the lowest volume that allows you to hear pitch and timing. Only then should you add the other instruments in order of priority. You want a surgical mix, not a wall of sound.
The Art of Frequency Carving
When I am mixing monitors, I am looking for 'ear fatigue' culprits. If your mix is muddy, it is usually because too many instruments are fighting for the same frequency range. If you are a guitarist, pull back on the low-mids. If you are a vocalist, boost the high-mids slightly to help your voice cut through the clash of the cymbals. Do not be afraid to use your EQ to carve out space. If two instruments sound like they are 'fighting' for the same space in your headphones, EQ one of them down. This keeps the mix clean and prevents you from cranking the master volume to compensate for muddiness.
Consistency Saves the Gig
I always tell my students in the Sound Check with Bob course to treat their monitor mix like a recipe. If you have a digital mixer, save your scenes. If you are using analog gear, write down your knob positions. However, remember that every room sounds different. A mix that worked at a club with wood floors will sound terrible in a carpeted room. Use your ears, not your eyes. During sound check, take a moment to listen for 'hot spots' where frequencies start to ring. If you hear a ringing frequency, drop it immediately. A clean, balanced mix is the difference between a panicked performance and a masterpiece. Trust your instincts, keep the levels modest, and protect your hearing above all else. Your ears are your most valuable piece of equipment.
EAR-TRAINING FIELD TRIP

Nashville, TN, USA
Ryman Auditorium
YOUR EXERCISE HERE
Find a seat in the middle of the floor during a soundcheck and close your eyes to isolate the vocal clarity against the room's natural reverb. Listen specifically for how the high-frequency transients decay, and note how the room's wooden pews and architecture color the sound compared to a modern, carpeted venue.
Free Listening Worksheet
5 questions on sound & music (2 fill-in-the-blank). Take it to the venue.
You Just Read the Free Version.
The full Sound Check course turns this into a system — 8 modules, 6 hours, a room that finally sounds right.
ENROLL NOW — $97