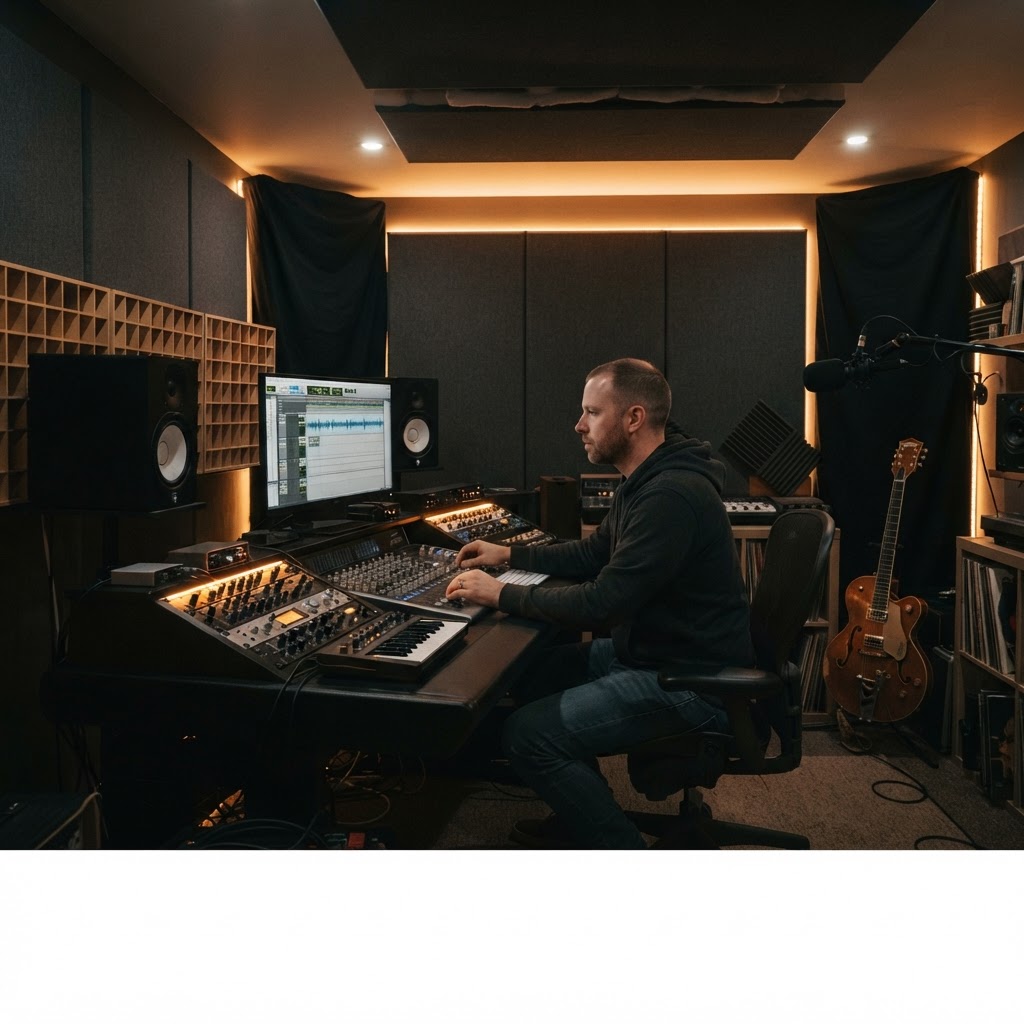
HOME STUDIO
Taming the Room: Practical Acoustic Treatment on a Real-World Budget
You don't need five grand to make your room sound record-ready. Here is how to kill flutter echoes and manage nasty bass build-up using cheap, effective materials.
Over the last forty-odd years behind mixing consoles and in project studios around Scottsdale, I have watched countless folks blow their entire budget on fancy tube microphones and boutique preamps, only to track in a bare bedroom that sounds like an echo chamber. I get it. Shiny hardware is fun to look at; acoustic insulation is not.
Here is the cold, hard truth: a five-thousand-dollar vocal chain running inside an untreated room will sound worse than a hundred-dollar Shure SM58 in a space with basic acoustic control. Your room acts like a giant physical filter on every sound you track and every mix decision you make.
The good news is you do not need to drop thousands on brand-name panels. You just need to understand basic physics and spend your cash where it actually moves the needle.
Step 1: Skip the Cheap Foam and Build Real Absorbers
First, do not buy those cheap, thin foam wedges online. They look cool in photos, but physics does not care about looks. Thin foam only shaves off extreme high frequencies. It leaves the muddy low-mids and boomy bass entirely untouched, giving you a dark, boxy, muffled room sound.
If you want real absorption on a shoestring budget, build your own broadband panels using rigid fiberglass or mineral wool, like Owens Corning 703 or Rockwool Safe'n'Sound. You can pick up a pack of Rockwool at your local hardware store for well under a hundred bucks.
Build simple one-by-four wooden frames, drop the 3-inch or 4-inch slabs inside, and wrap them tightly in breathable fabric like burlap or cheap Guilford-style polyester. Test the fabric by blowing through it with your mouth; if air passes easily, sound waves will pass through it into the insulation. For the cost of two retail panels, you can build eight heavy-duty panels that genuinely absorb frequencies all the way down into the low-mids.
Step 2: Kill Early Reflections First
Once you have six to eight panels, do not scatter them randomly. Place them where they save your ears from early reflection confusion.
Sit at your desk in your mixing position and have a friend slide a handheld mirror along the left and right walls at head height. Wherever you can see the reflection of your studio monitors in that mirror, mark the spot with a piece of painter's tape. That is your primary reflection point.
Hang a panel right over each mark. Then hang another directly on the ceiling between your ears and the monitors (a mixing cloud). By absorbing these immediate boundary reflections, you prevent the direct sound leaving your monitors from smearing against wall reflections arriving milliseconds later. Your stereo imaging will instantly snap into sharp focus.
Step 3: Bass Trapping and Heavy Household Physics
Low frequencies naturally pool in the corners of rectangular rooms. If your kicks and basslines sound thin in your chair but shake the drywall when you stand by the closet door, room modes are eating your low end.
True bass traps require density and depth. Mount your thickest panels diagonally across the vertical wall-to-wall corners. Leaving an air gap between the panel and the corner wall doubles the low-frequency effectiveness without costing an extra dime.
If your funds run totally dry, lean into heavy household items. A plush couch placed against the back wall, bookshelves filled with books of varying depths, and thick moving blankets draped across bare surfaces won't fix deep 50Hz standing waves, but they will drastically shorten decay times and kill flutter echo.
Trust your ears, keep the room symmetrical, and put your money into dense absorption before you ever upgrade your microphone.
Fix the space you work in today, and every mix you touch tomorrow will translate with confidence.
EAR-TRAINING FIELD TRIP

Nashville, TN, USA
Ryman Auditorium
YOUR EXERCISE HERE
Take a seat on the historic curved wooden pews in the center of the main floor, close your eyes, and listen during quiet soundcheck or an acoustic passage. Pay close attention to how early reflections off the warm wood surfaces blend seamlessly with the direct sound from the stage, giving you exceptional vocal intelligibility without any harsh, metallic slapback. Contrast that natural warmth with what you typically battle in untreated square rooms.
Free Listening Worksheet
5 questions on sound & music (2 fill-in-the-blank). Take it to the venue.
You Just Read the Free Version.
The full Sound Check course turns this into a system — 8 modules, 6 hours, a room that finally sounds right.
ENROLL NOW — $97