LIVE SOUND
Taming the Squeal: A Veteran Guide to Stage Feedback
Bob Williams shares forty years of hard-earned wisdom on how to master your stage environment and eliminate feedback through physics and technique.
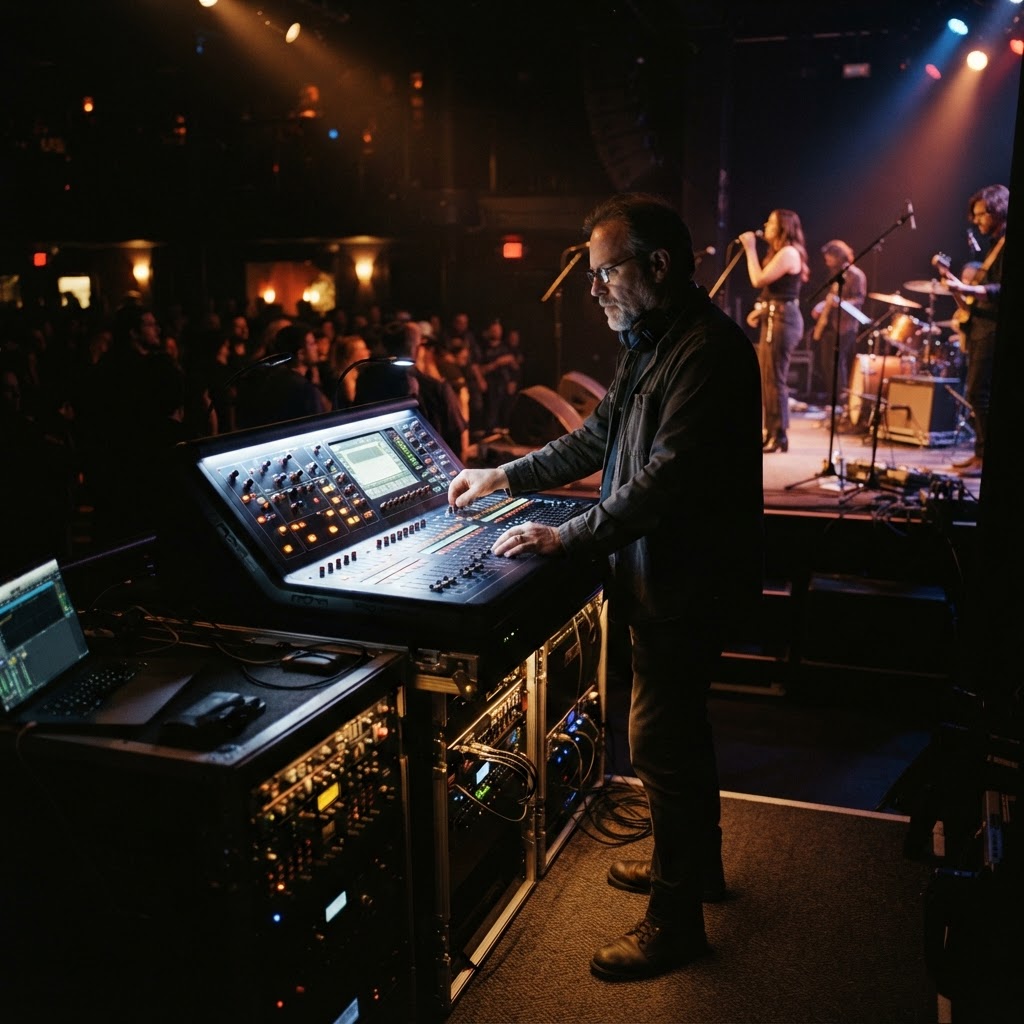
Hey there. Bob Williams here. I have spent more than forty years behind the glass and on the stage, mostly right here in the beautiful, albeit occasionally sweltering, Scottsdale, Arizona. If you have ever stood on a stage, you have likely felt that sudden, sharp spike of adrenaline that comes not from a great solo, but from the ear-splitting shriek of feedback. It is the natural enemy of the live performer. In my Sound Check with Bob course, I tell my students that feedback is not a mystery or a curse from the sound gods. It is simply physics. Specifically, it is a loop. Sound goes into the mic, comes out the speaker, and goes back into the mic again, getting louder each time until it hits a peak. To stop it, you have to break the loop. Let us talk about how you can do that without losing your mind or your audience's ears. Mastering the Geometry of the Stage One of the most common mistakes I see young performers make is a lack of awareness regarding where their microphone is pointing in relation to their monitors. Most stage microphones, like the industry-standard Shure SM58, have what we call a cardioid polar pattern. This means they are designed to pick up sound primarily from the front and reject it from the rear. The back of the microphone is its null point. If you place your monitor wedge directly in front of you, the back of your mic should be pointing right at it. The trouble starts when performers start moving around carelessly. If you turn sideways to talk to the drummer and point the head of your mic toward the monitor, you are inviting the feedback monster for dinner. Keep that null point aimed at the source of the noise. If you are using a supercardioid mic, the null point is actually slightly off to the sides of the rear, so you want your monitors angled in from the sides rather than directly behind the mic. Knowing your gear is half the battle. The Cupping Trap and Proximity Control We have all seen the rappers and metal vocalists who cup the grille of the microphone with both hands. It looks aggressive and cool, but from an engineering perspective, it is a nightmare. When you wrap your hand around that wire mesh, you are essentially changing the acoustic chamber of the microphone. You turn a directional mic into an omnidirectional one. Suddenly, the mic is picking up the drums, the bass amp, and that floor wedge you were trying to avoid. The result is a muddy sound and an immediate feedback loop. Keep your hand on the handle. If you need more oomph, get closer to the mic. This is called the proximity effect. As you get closer to the diaphragm, the lower frequencies are naturally boosted. It gives you that rich, intimate sound without the sound tech having to push the gain on the board to dangerous levels. The less gain we have to use, the more headroom we have before feedback starts. High gain is like standing on a cliff edge; one wrong move and you are over. Talking to Your Sound Tech Like a Pro Your sound engineer is not a mind reader, and they are not your servant; they are your collaborator. During your sound check, avoid the temptation to just shout more me. Instead, be specific. If you cannot hear yourself, it might not be a volume issue it might be a frequency issue. If the stage is washy, ask the tech to cut some of the low-mids in your monitor. This clears up the mud and allows your voice to cut through without increasing the overall volume. Also, be consistent. If you sing at a three during sound check and a ten during the show, all the work we did to prevent feedback will be useless. Give us your real performance level. We want you to sound great as much as you do, but we need you to work with the room, not against it. Remember that every room is different. A concrete basement in Tempe will behave differently than an outdoor stage in Scottsdale. Listen to the room, respect the physics of your microphone, and you will never have to fear the squeal again. Master the physics of your stage, and your performance will finally have the space to breathe.
EAR-TRAINING FIELD TRIP

Nashville, TN, USA
Ryman Auditorium
YOUR EXERCISE HERE
Find a spot in the center of the wooden pews and close your eyes during a soundcheck or performance. Notice how the mid-range frequencies stay crisp without bouncing harshly off the walls; that natural clarity is exactly what you're trying to preserve when you're carefully notching out feedback frequencies on a graphic EQ.
Free Listening Worksheet
5 questions on sound & music (2 fill-in-the-blank). Take it to the venue.
You Just Read the Free Version.
The full Sound Check course turns this into a system — 8 modules, 6 hours, a room that finally sounds right.
ENROLL NOW — $97