LIVE SOUND
The Veteran's Routine: How to Run a Flawless Sound Check
Bob Williams shares his 40-year proven sequence for building a professional live mix from the ground up without the stress.
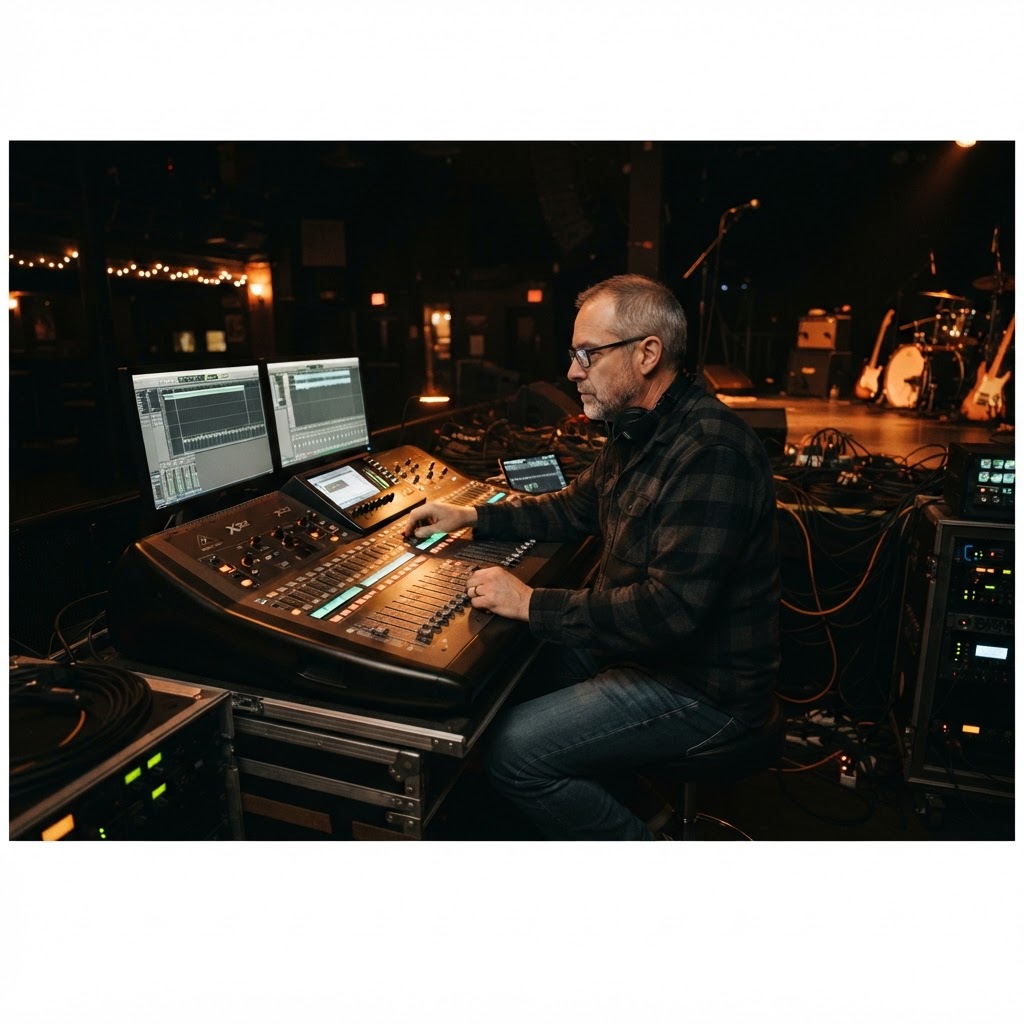
Hey there. Bob Williams here. I’ve spent over forty years behind consoles and on stages, from the hottest clubs in Scottsdale to festivals across the country. If there is one thing I have learned, it is that a chaotic sound check leads to a chaotic show. You cannot build a house on a shaky foundation, and your mix is no different. You might be new to this, but if you follow a disciplined routine, you will look like a pro and sound like one too.
The Order of Operations
Most beginners make the mistake of jumping around. They tweak a vocal, then a snare, then a guitar. That is a recipe for a muddy mess. You need a sequence. In my 'Sound Check with Bob' course, I always teach students to start with the foundation: the drums. Specifically, the kick drum. It sets the pulse and determines how much low-end energy you have to work with. Once the kick is solid, move to the snare, then the hat, then the toms, and finally the overheads. Check them individually, then as a group.
Once the kit is locked in, move to the bass guitar. The bass and kick drum need to marry each other. If they are fighting, your whole low end will be a blur. After the rhythm section is set, bring in the guitars and keyboards. Always save the vocals for last. Why? Because the vocals are the most important part of the mix, and you need to see how much space is left in the frequency spectrum before you can place them properly. If you start with vocals, you will spend the rest of the check trying to protect them from the instruments you keep adding. This bottom-up approach ensures that every element has its own home in the sonic landscape.
The Gain Staging Secret
Let’s talk about the mistake I see more than any other: poor gain structure. If your meters are constantly in the red during the check, you have already lost the battle. Digital consoles have massive amounts of headroom, but they also have a 'cliff' where they sound brittle and harsh if pushed too hard. I tell my students to aim for a healthy level—usually around -18dBFS on a digital meter—during the sound check phase.
Remember the Golden Rule of Live Sound: Musicians always play at least twenty percent louder when the audience arrives and the adrenaline kicks in. If you are peaking during sound check, you will be clipping ten minutes into the first set. Leave yourself some breathing room. You can always turn the fader up, but you cannot fix a distorted preamp mid-show without causing a scene. Good gain staging starts at the preamp, not the fader. Get that right, and the rest of the mix practically builds itself.
Communication is Your Best EQ
A sound check is as much about psychology as it is about technology. You are the captain of the ship during those thirty minutes. Speak clearly into the talkback mic. Use the musicians’ names; it builds instant rapport. Instead of shouting, 'I need more guitar,' try saying, 'Hey Mike, can you bring your stage volume down about ten percent so I can get you clearer in the monitors?'
Keep the mood light but focused. If a musician is struggling with their monitor mix, address it immediately. A comfortable musician plays better, and a better performance makes your job as an engineer significantly easier. Do not let them noodle between checks. If you are checking the snare, the guitarist should not be shredding in the corner. Establish that boundary early and respectfully. It keeps the energy directed toward the goal of a great-sounding show.
Once every individual channel is checked, have the band play one full song—preferably their loudest, most energetic one. This is where you finalize your levels and check for any frequency build-up. Once that song is over, you are done. Don't overthink it. Trust your ears, trust your routine, and get ready for the downbeat. You’ve got the tools and the talent, so just keep the faders up and the ego down.
EAR-TRAINING FIELD TRIP

Nashville, TN, USA
Ryman Auditorium
YOUR EXERCISE HERE
Find a seat in the middle of the pews and close your eyes while the band is warming up. Focus on the decay of the snare drum; notice how the room's wooden interior warms up the low-mids without the 'slap-back' echo you'd get in a concrete arena.
Free Listening Worksheet
5 questions on sound & music (2 fill-in-the-blank). Take it to the venue.
You Just Read the Free Version.
The full Sound Check course turns this into a system — 8 modules, 6 hours, a room that finally sounds right.
ENROLL NOW — $97